

A DM screen says a lot about a DM. So when we set out to build one, we wanted to make it look fancy (even though it was cheap). To build our screen, Katie and I went to the arts and crafts store. We had nothing but a rough idea for what we wanted to do. But as we walked around the store, some interesting ideas began to percolate. We wanted to make a screen that looked like wood and stone, but that was super light. We wanted it to stand up by itself. And we wanted to be able to decorate the front.
Katie suggested we make it out of crafting foam. I was originally skeptical that we could make it work. But when I realized we could tape it together with Duck Tape and then paint a faux woodgrain, I was sold. After the craft store, we stopped by the hardware store to grab some gray spray paint. Then we headed home and started building.
Start to finish, it took us over a month to get things the way we wanted. But we’re hoping that by writing this post, we’ll give you the tools necessary to be able to build a similar screen in a few days or even less.
The Materials
This is more or less the complete materials list that we ended up with. We started with just the foam, paint, and tape. By the end, we had used quite a bit more.
- 4 pieces of rectangular craft foam, 1.25" x 9.9" x 11.9"
- 1-2 cans of stone-colored spray paint. We used Krylon Deep Gray.
- Beige Duck Tape
- Satin finish Mod Podge
- Liquitex Raw Umber acrylic paint
- A flat 1/2" paint brush with fairly rigid bristles
- 5-7 8.5" x 11" pieces of cardstock to your liking. We used parchment and dark blue.
- A decal for the front of the screen. We used this one from AdorablyGrim on Etsy
- A few brass thumb tacks
- A magnet strip
Step 1: Paint the Foam
Our four foam panels will make up the screen. The first step is to spray paint all four panels. Because we will tape the edges, it’s not necessary to paint those. We also decided to only paint the outward-facing part. In hindsight, I wish we had painted front and back.
Make sure you hold the paint at the recommended distance from the foam. We discovered that if we got too close, the paint caused the foam to collapse.
Depending on the paint brand and thickness, it may take a few coats. We did three coats and some touch-up. If you do front and back, you will almost surely need two cans of paint.
It is important to let the paint dry thoroughly. We let the panels sit in a dry location for a few days. Probably overnight would have been sufficient.
Step 2: Taping the Panels
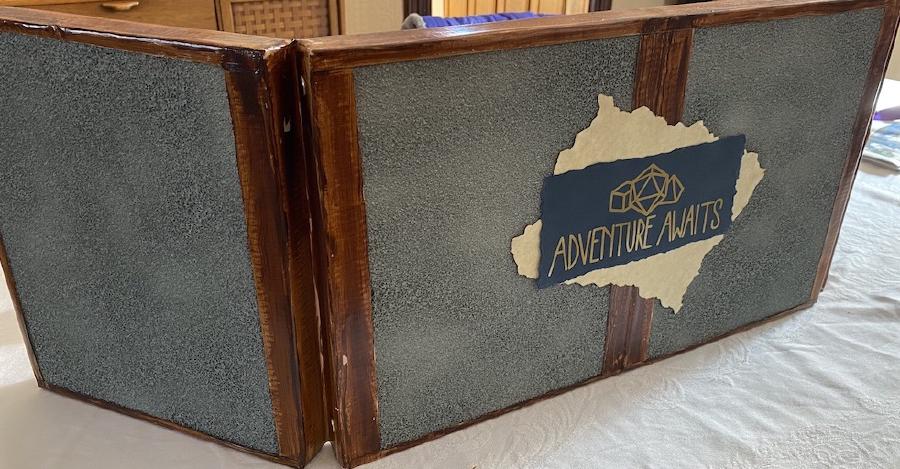
The four pieces of foam will make three panels for the screen. Two pieces are combined to make the center panel. Then each side panel is made of a piece of foam.

Unfortunately, I didn’t take a picture of the taping before we painted it. But the picture above shows how we assembled the four pieces into three panels.
A quick note before diving in: Taping is the hardest part of this project. Go slowly, pay attention to detail, and be gentle. Let this part take time.
First, we taped two foam rectangles together to make the center panel. Duck Tape adheres to foam surprisingly well. But we made sure to wrap the tape around edges. We also had to make sure not to apply too much pressure. Pushing too hard can damage the foam.
We taped the center panels front-and-back. Then we set the front panel face-down on a clean table.
To make the screen fold, we wanted to attach the side panels in a way that formed a hinge with the tape. We did this by placing each side panel face-down next to the center panel, and then taping it. Then, we folded the side panels over the top panel so that the foam panel was face down, and the two side panels were face up. Then we ran a strip of tape across the edges of the side panel.
You can see this in the picture above. The combination of the tape flat across the back and the tape along the edges of the side and center panels together form a thin but durable hinge.
At this point, we had about six strips of tape holding the entire thing together. It was very fragile, and the two of us had to work together to flip the screen back and forth without the tape tearing off.
But this was only a temporary situation. Because the next thing we did was start taping along the edges. Taping the edges did three things for us:
- It greatly re-enforced the strength of the screen
- It hid the edges of the foam
- It provided the edging for what would be painted to look like wood trim.
We did a lot of measuring. We used an exacto knife to cut edges. And we did a lot of careful cutting and folding to make the tape look more or less like wood mitering.
The tape was pretty forgiving. When we made mistakes, we carefully removed the tape and tried again. Once we were all done taping, we folded the screen into its closed position and then put a few books on it and left it for a day. I doubt this was necessary, but we hoped that the pressure would help the tape stick to the foam. The screen is now over a year old and the tape has never once come loose.
Step 3: Painting the Tape
We used beige tape on purpose. It is a nice neutral color that looks like the lightest grain in a stained wood. We used it as a base color over which we could paint with a darker brown.
I had some Liquitex paints hanging around, so we picked a dark brown (raw umber) and a stiff-bristled flat brush and painted on some faux wood grain.
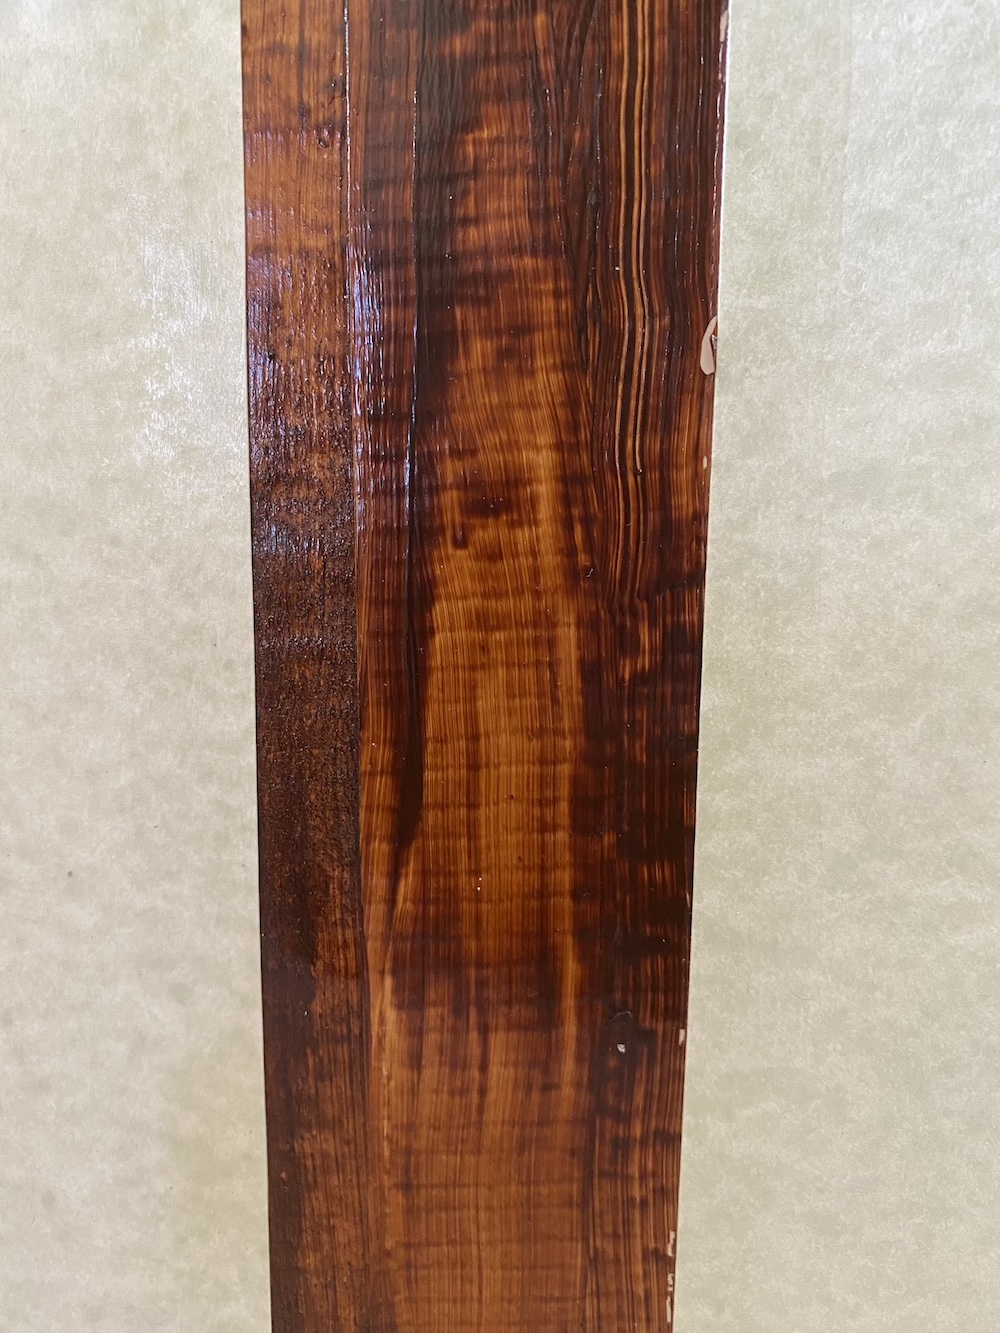
Painting simple wood grain is surprisingly easy.
- Load the brush
- Place it at the top of the area you want to paint
- Slowly drag the brush down until the paint stops flowing
- Repeat
The stiff bristles create the vertical grain pattern while the bumps in the tape and the foam cause subtle ridges that look wood-like. We suppose that we could have used multiple layers of different wood-colored paints to add depth. But actually just sticking with the raw umber turned out quite attractive.
Acrylic paint dries quickly. Even so we decided to take this part slowly. We did the front, waited several hours, and then did the top and sides. Then we left the entire thing over night. The next day we painted the back and the bottom. Again, we left it to dry overnight before moving on to the next step.
Step 4: Papering the Inside of the Screen
As mentioned in Step 1, we did not paint the foam on the inside of the screen. I wish we had. But our original thought (which we later abandoned) was to use the foam as a tack-board. The DM could then use thumbtacks to pin material to the inside of the board. This design had a major downside, though. We would make lots of holes in the foam. Over time, we’d ruin the screen.
So at this point we decided on another technique: We would paper over the back of the screen with parchment-like cardstock. Then (later in the process) we would put a magnet strip along the inside. This way, the DM could stick things to the inside of the screen using magnets.
This step involved covering the back of the screen with card stock. And it turned out to be very easy.
The dimension of each panel is 9.9" x 11.9". We had taped in about an inch to an inch and a half on each side. So an 8.5" x 11" sheet of cardstock fit perfectly. We used Mod Podge to glue the cardstock to the foam. We liberally brushed the Mod Podge onto the back of the parchment paper, then stuck the paper to the foam. Per our “slow and steady” mantra, we then stacked a few books atop each panel and left it for several hours. Then we came back and painted a thin layer of Mod Podge over the edges of the parchment to seal them down.
Step 5: Sealing the Tape and Paint with Mod Podge
In the process of doing the paper, we realized that the acrylic paint was not adhering to the tape as well as we would like. So we decided to use the Mod Podge like a varnish on all of the woodgrain painting. Over a couple of paint-then-dry sessions, we painted Mod Podge onto every single exposed surface of tape.
This worked well… for a while. Take a look at the “Lessons Learned” section at the end for the long-term outcome. The next time we build a DM screen this way, we’ll probably try something a little different.
Step 6: Decorate it!
Earlier I mentioned that we had planned on using thumbtacks to stick stuff to the DM screen. We abandoned that idea because it would damage the screen. But we realized that our gold thumbtacks would make great highlights, and also protect the hinges on the screen from sticking. Even when totally dry, the acrylic paint is just a tiny bit tacky. So we pushed a few pins into the inside edges. You can see the result on the picture in Step 2.
Then we turned our attention to the front of the screen.

The goal was to make a bold frontpiece that evoked an exciting D&D vibe. The AdorablyGrim shop on Etsy had the perfect decal. I ordered it in gold foil. To get a deckle edge, Katie and I carefully tore the blue cardstock. Once we had it the way we liked it, we put the decal on.
The parchment was even more fun. We held the sheet over the sink, lit a match, and singed the edges.
Then we used Mod Podge to coat the paper and glue the pieces together. By painting over the singed parchment with Mod Podge, we kept the burned look, but made the edges sturdier and less messy. After letting all of that dry, we used Mod Podge to stick the frontpiece to the DM screen.
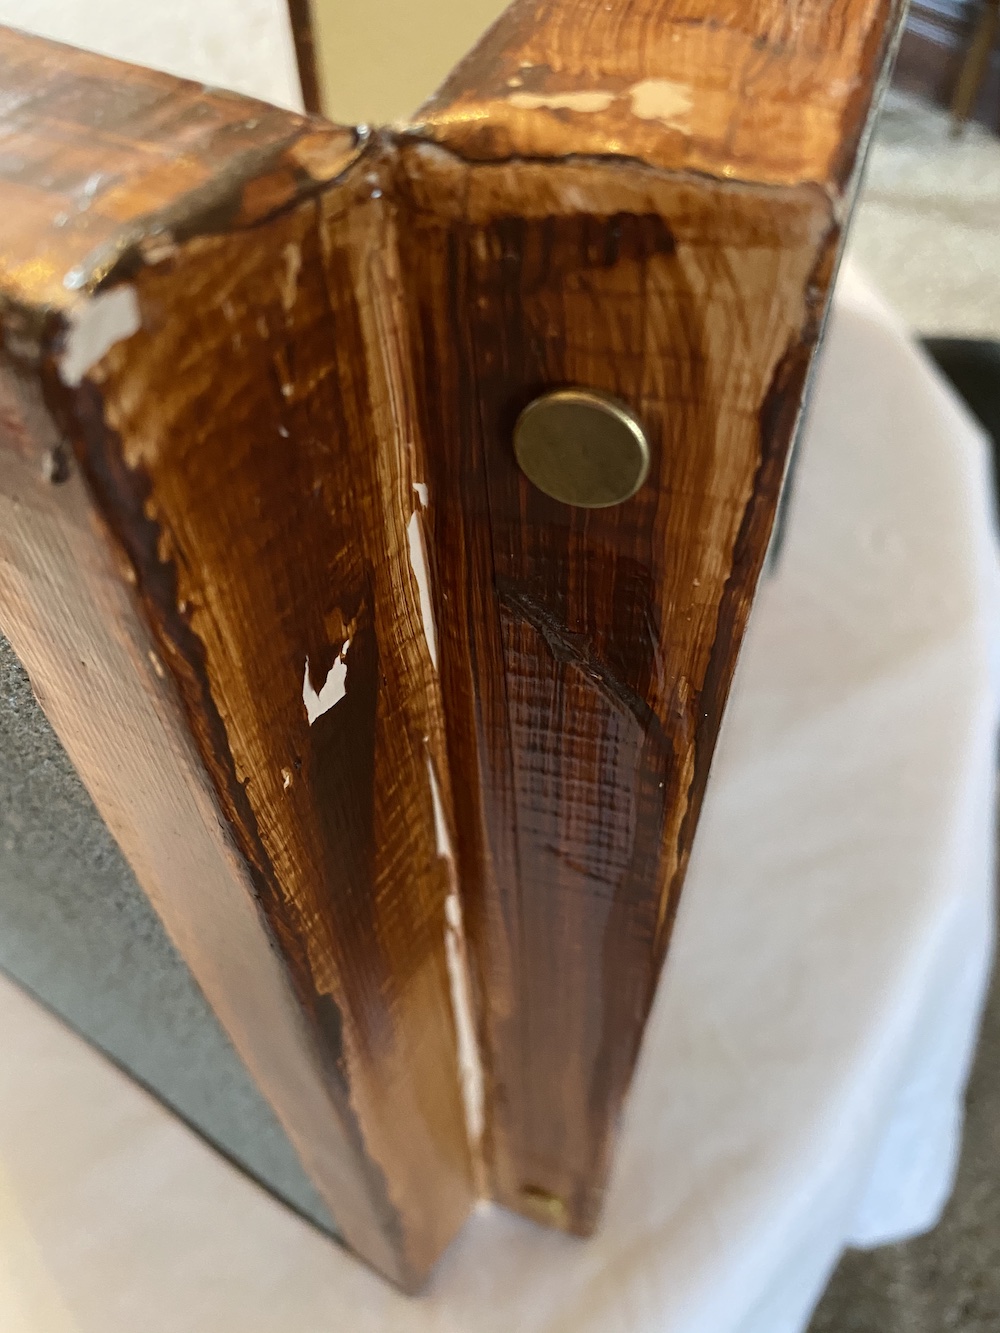
Finally, we found some old magnet tape lying around in a drawer. On two of the three inside panels, we stuck the magnet tape to the top. Now I use that to stick my notes to the inside of the screen with magnets, or even just a piece of metal.
We used magnet tape instead of a metal strip because the magnet tape is both lighter and easier to stick to the DM screen. We did have to set a few books on top of the tape and leave it for a few days. Otherwise, the tape (which had been spooled) would curl and pop off.
Bonus: Turn Trackers
When DMing, it is nice to use turn trackers to keep things in order during combat.
While looking around on Etsy, I found a printable design for turn trackers. These were the perfect size to print and fold so that the name plate sites on top of the screen and the stats hang inward toward the DM.
I printed a set for my players, filling out all the stats. Then printed a second blank set. I coated the blank set with clear plastic adhesive so that I can write on them with wet erase markers. That way, I can use those markers to represent enemies or NPCs.
Lessons Learned
Katie and I finished the DM screen over a year ago. For the most part, it has been great. But one thing has not stood the test of time.
The painted Duck Tape.
Over the year, the paint has started peeling off of the tape, flaking off even when the screen was just sitting idle on the shelf. The root problem, of course, is that acrylic paint doesn’t adhere to some surfaces. And apparently Duck Tape is one such surface.
There are a few solutions to this problem. I wish we had known about the simplest one when we first start. The Duck Tape brand makes this woodgrained tape. That would have been great. Using woodgrain tape would have greatly reduced the amount of time as well as materials. And it would have held up better over time.
Another option may have been to use brown painter’s tape instead of Duck Tape. The surface of painter’s tape is more porous, so the paint probably would have adhered better. But the drawback of painter’s tape is that it is designed to be removed. So perhaps it would not have adhered to the foam as well.
The next time we’re feeling ambitious, we may just give this a second try. And if we do, we’ll be sure to write about it here.